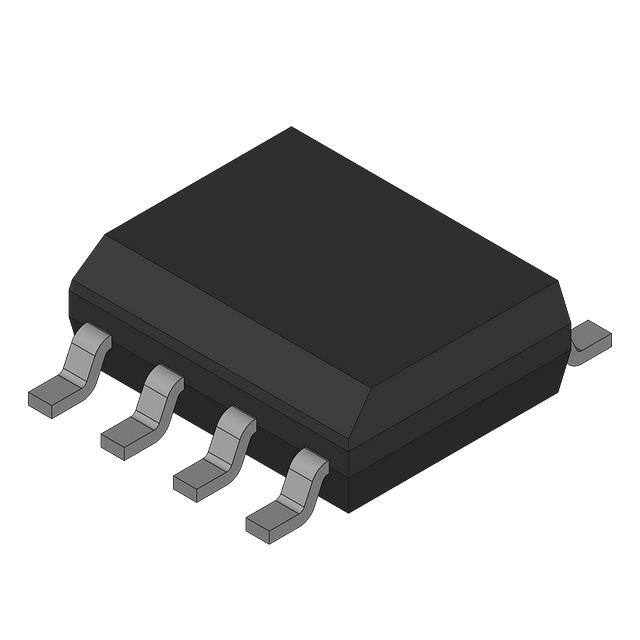
Attiny85 is locked, how to recover ?
If ATTiny85 is locked, it is usually because programming protection (such as write protection) is enabled. How can we recover it.
First, let's understand the structure of ATTiny85
ATtiny85 is a small 8-bit AVR microcontroller produced by Atmel (now Microchip Technology), widely used in embedded systems and low-power projects. ATtiny85 has 8 KB of flash memory, 512 bytes of SRAM, and 6 programmable I/O pins.
ATtiny85 usually has 8 pins, and the main functions include:
Pin 1 (RESET): reset pin.
Pin 2 (PB3): can be used as input/output, PWM output.
Pin 3 (PB4): can be used as input/output, PWM output.
Pin 4 (GND): ground.
Pin 5 (VCC): power supply.
Pin 6 (PB0): can be used as input/output, ADC input.
Pin 7 (PB1): Can be used as input/output, ADC input.
Pin 8 (PB2): Can be used as input/output, ADC input.
For more details, please check the official attiny85 datasheet
If the ATTiny85 is locked, to recover it, you can try the following steps:
Use the correct programmer:
Make sure the programmer you use (such as USBasp or AVRISP mkII) supports ATTiny85 and the driver is installed correctly.
Try the unlock command:
Use the programming software (such as AVRdude) to send the unlock command. You can try the following command:
avrdude -c usbasp -p t85 -B1 -e
Where -e means erase the entire chip, which may clear the locked state.
Check the wiring:
Make sure the wiring between the programmer and the ATTiny85 is correct, including MISO, MOSI, SCK, RESET and GND.
Change the frequency:
Sometimes, the programmer's clock frequency is not set correctly, which may cause communication failure. Try using a lower frequency.
If the above method does not work, you may need to reburn the bootloader or use a dedicated unlocking tool.
Reburn the bootloader:
Attiny85 programming with arduino
Hardware connection:
Use Arduino UNO or other compatible Arduino board as a programmer.
Connect the ATtiny85 to the Arduino, usually using the 6-pin or 10-pin programming interface.
Install Arduino IDE:
Make sure to install the latest version of Arduino IDE.
Add ATtiny85 support:
In Arduino IDE, open "File" > "Preferences".
In "Additional Development Board URLs", add the following URL:
http://digistump.com/package_digistump_index.json
Go to "Tools" > "Development Board" > "Development Board Manager", search and install "Digistump AVR Boards".
Select the board and chip:
Select "ATtiny85" as the target board in the Tools menu and set the relevant options, such as the clock frequency (usually 8 MHz or 16 MHz).
Write code:
Write Arduino code (C/C++) to use the ATtiny85's pins to control sensors, LEDs or other peripherals.
Upload code:
In the Arduino IDE, select "Arduino as ISP" as the programmer and click Upload code.
Attiny85 Program and Burn Bootloader using Arduino
ATtiny85 Project Example
LED flashing:
void setup() {
pinMode(0, OUTPUT); // Set pin 0 as output
}
void loop() {
digitalWrite(0, HIGH); // Turn on LED
delay(1000); // Delay 1 second
digitalWrite(0, LOW); // Turn off LED
delay(1000); // Delay 1 second
}
Temperature sensor reading:
Use ATtiny85 to connect a temperature sensor (such as LM35), read analog values and control a fan or other device through PWM.
Attiny85 Program and Burn Bootloader using Arduino
ATtiny85 is a powerful and flexible microcontroller that can be used with the Arduino platform to easily implement a variety of projects. Whether it is simple LED control or complex sensor integration, ATtiny85 can do it, especially suitable for low-power and space-constrained application scenarios.
ATtiny85 Series Microcontrollers


